
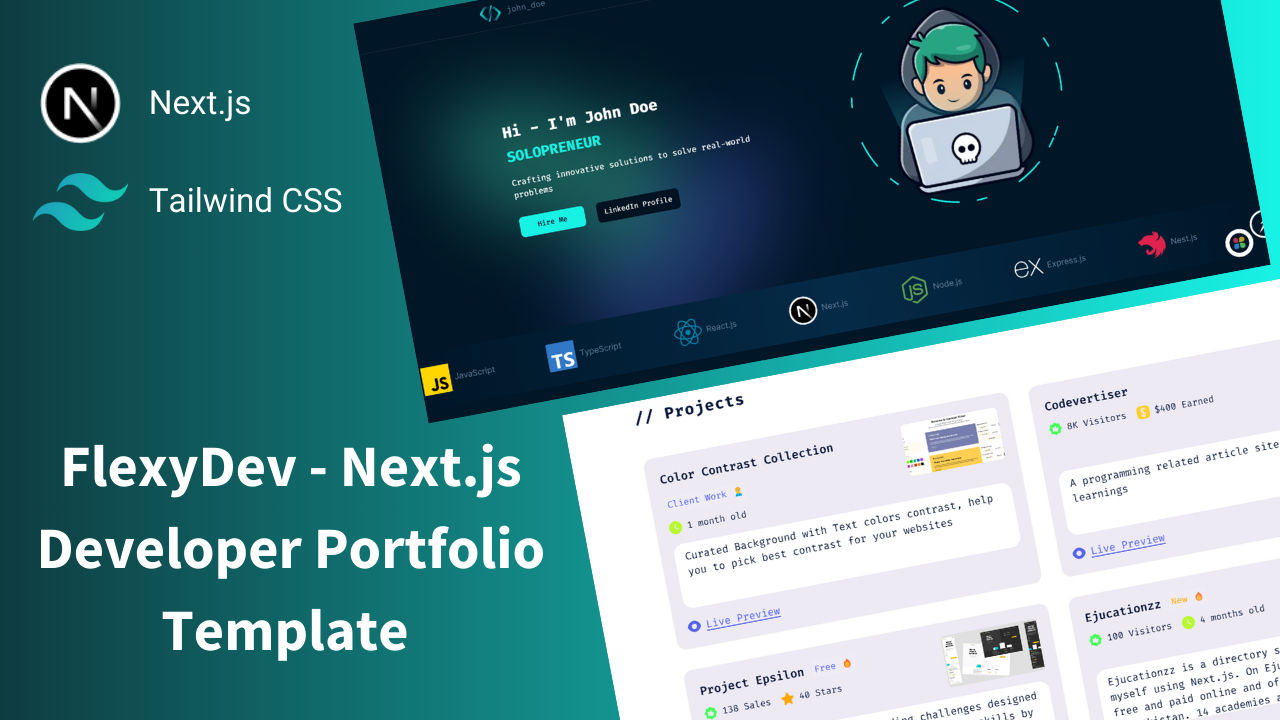
✨ Professional Portfolio Template built with Next.js 15 • 🚀 Tailwind V4 • 📱 Fully Responsive • 🎨 Modern Design • 🔍 SEO Friendly
Follow these steps to set up and run the project locally:
After downloading/cloning the project, navigate to the project directory and run:
npm install
# or
yarn install
This will install all required dependencies.
Once the installation is complete, start the server with:
npm run dev
# or
yarn dev
Your portfolio will now be running at http://localhost:3000.
Before running the project, make sure to create a .env.local file in the root directory and add the following:
NEXT_PUBLIC_SITE_URL=http://localhost:3000This ensures proper configuration of environment variables.

- content: Contains data for projects. Add any additional section data here.
- Components: All the UI components of app e.g. navbar, hero, projects, footer etc
- src/services: Retrieves data (e.g., projects, testimonials) using the fs module. Update this file if you change or modify the data source.
- src/assets: Stores all assets, including images and icons, additionally you can add audio, video, and local fonts here.
- src/hooks: Holds custom hooks.
- src/lib/types.d.ts: Contains TypeScript types.
- util/icons: Centralizes icons and images for easy updates.
- appData: Includes app data, such as services and skills (including icons).
- app/page.tsx: Root file of the app.
- app/layout.tsx: Manages global and SEO configurations (e.g., fonts, head tags, analytics).
- Navbar
- File: navbar.tsx
- Update the navbar name from john_doe to your name.
- File: navbar.tsx
- Hero Section
- File: hero.tsx
- Edit the title, description, and optionally, replace the SVG with your image.
- File: hero.tsx
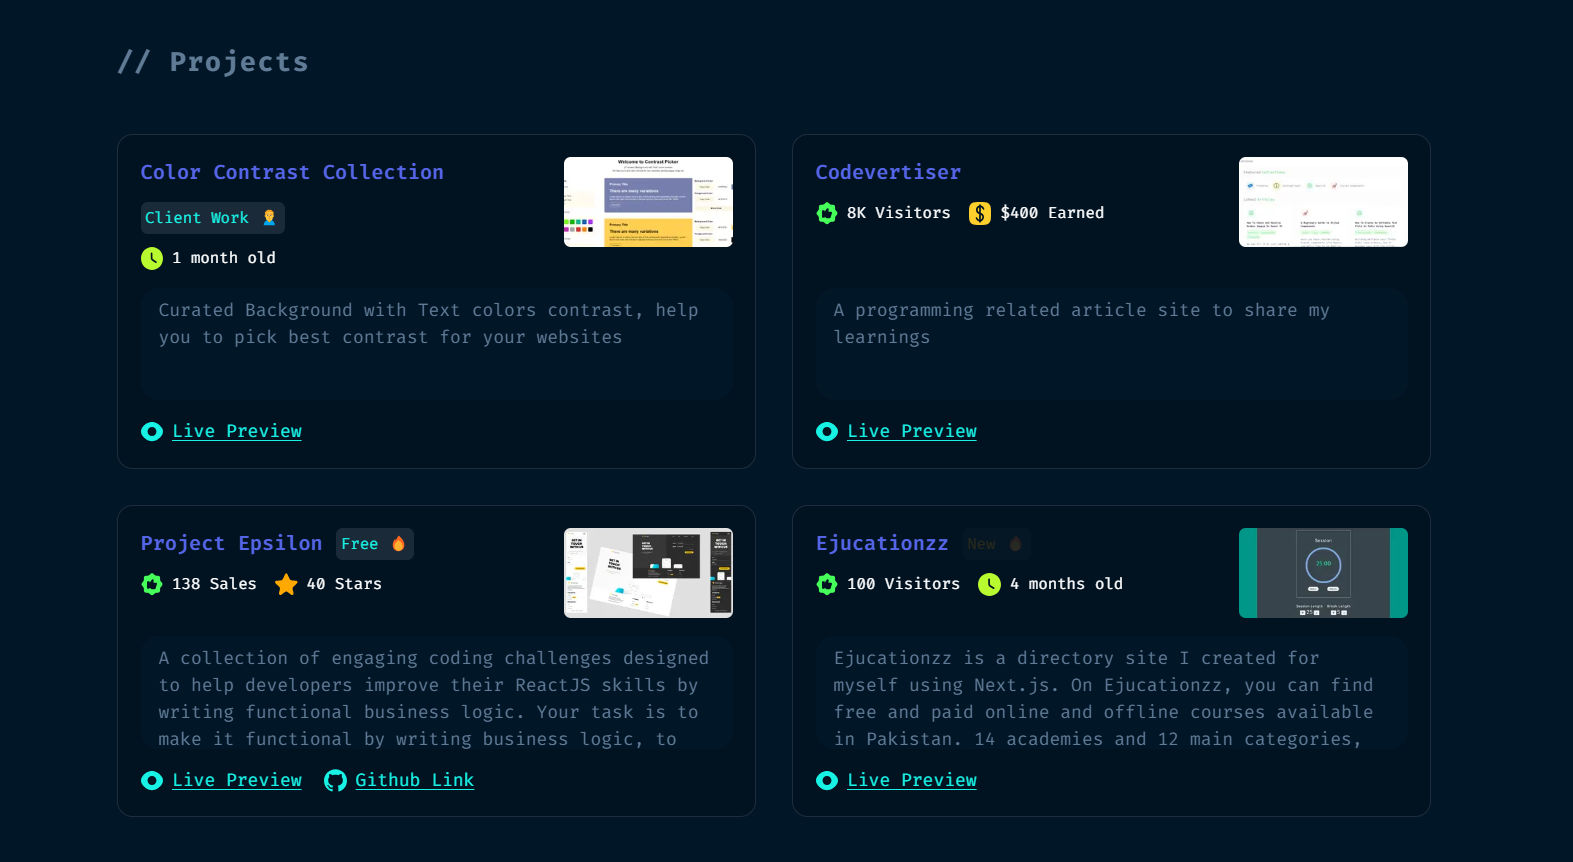
- Projects Section
- File: content/projects
- Replace the dummy projects with your own.
- If you are modifying the properties or going to add new ones, then update types in types.d.ts.
- File: content/projects
- Services Section
- File: appData
- Add your services with relevant icons. If icons are missing, contact me on LinkedIn or via email.
- File: appData
- Skills Section
- File: appData
- Add your skills with relevant icons. Contact if you can’t find specific icons online.
- File: appData
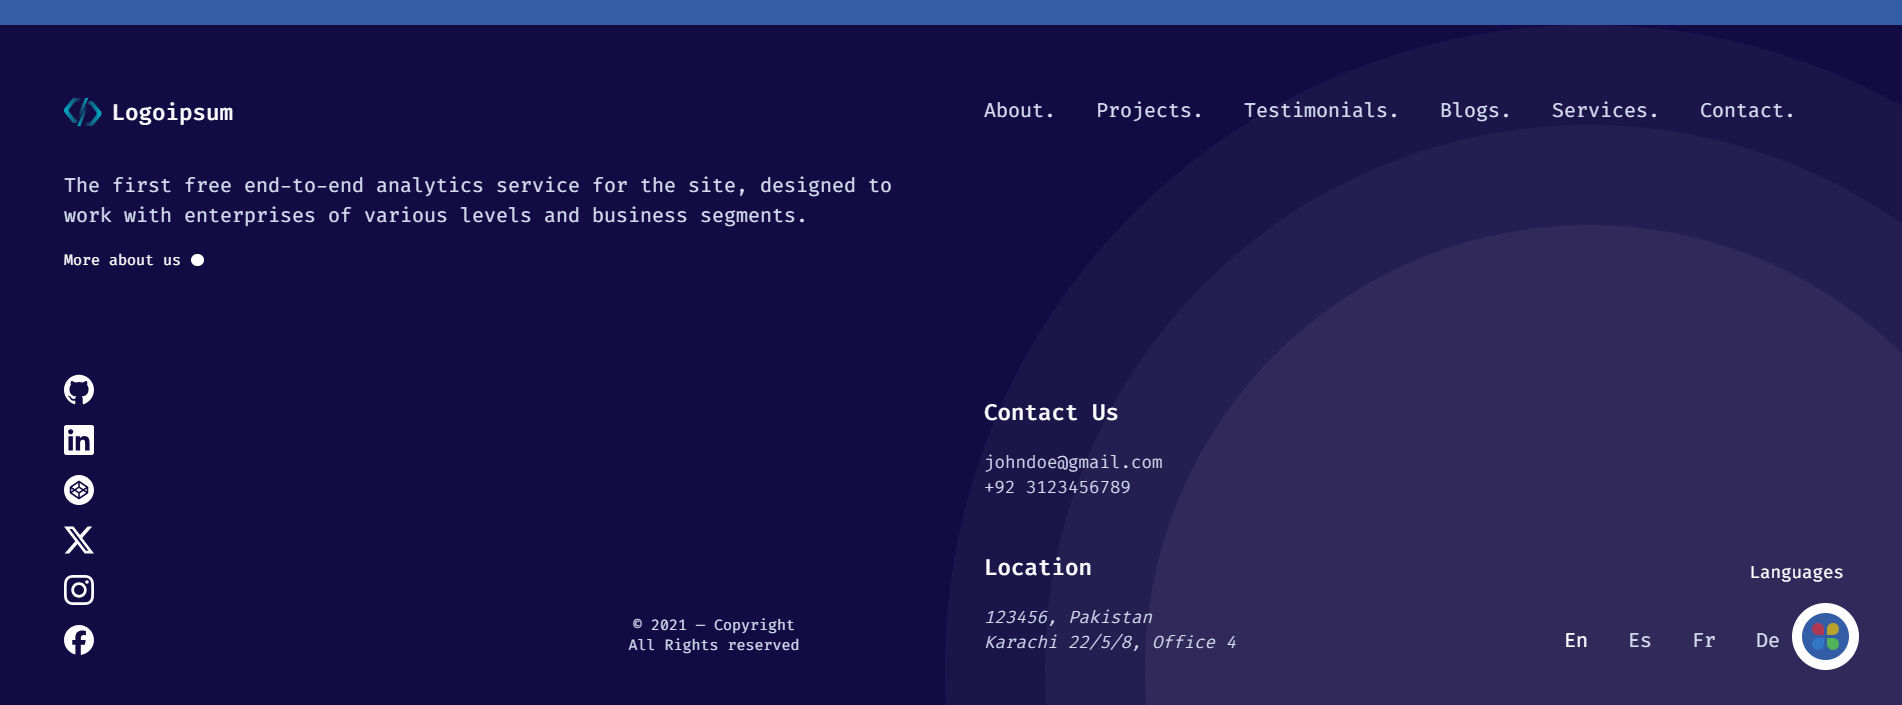
- Footer
- Location: Visit Flexy UI
- You can replace the default footer or choose from additional variants from Flexy UI (simple or column footer).
- Location: Visit Flexy UI
In the same manner, you can also update the Contact and Testimonial sections. The code is self-explanatory.
To integrate Formspree into your contact form, follow these simple steps:
- Go to the Formspree website and create a new project.
- Add a new form (you'll get a unique form endpoint URL).
- Copy the form endpoint and paste it into your
.env.localfile like this:
CONTACT_FORM_ACTION_URL=https://formspree.io/f/your-form-idNote: This URL is just an endpoint to receive your form submissions. You can use any service of your choice (like Formcarry, Getform, or your own API) if you're not using Formspree.
Make sure the name attributes in your form match what your form handler or service expects (e.g., name, email, subject, message).
To display online images (e.g., from a CDN) in your deployed project, configure allowed image hostnames in next.config.js.
For demo purposes, we’re using Unsplash images. You can use any image host, but be sure to add the hostname in your configuration.
Replace 'unsplash' with your own image hostnames if using a different service or add a new object.
We use Tailwind CSS for styling. In global.css, you can customize theme variables for all 3 themes.
- Favicon: Replace the default favicon with your own.
- Metadata: Update meta title and description in layout.tsx.
- SEO Files: robots.ts and sitemap.ts are included for search engines.
- Open Graph Images:
- Replace
opengraph-image.pngandtwitter-image.pngwith custom images. - Alternatively, edit
opengraph-image.tsxto generate images dynamically.
- Replace
✨ Premium Features Include:
In premium template you will get one extra feature
- 📝 MDX Blog System with code snippets
Get Premium Version | View Premium Demo
| Feature | Free Version | Premium Version |
|---|---|---|
| Blog System (MDX) | ❌ | ✅ Full Integration |
| UI Components | 20 | 25+ |
| Email Support | ✅ | ✅ Priority |
You can integrate analytics easily:
- Simple Analytics or Vercel Analytics: Quick and easy to set up.
- Google Analytics 4: Also straightforward.
Before deploying, add environment variables from .env.local wherever you are deploying:
- NEXT_PUBLIC_SITE_URL: Set to your actual site URL (e.g., https://johndoe.com).
- CONTACT_FORM_ACTION_URL: Your formspree url.
- For local development, use the localhost URL.
For any query or suggestion, I am available on LinkedIn or email me at [email protected]