Create a UI image with AI-generated content in Unity.
Unity 2022.3 or later.
- Copy
Git URL; - In Unity, open
Window > Package Manager; - Click on the
+icon in the top left corner and selectAdd package from git URL;
Right now, Gen UI Image supports only OpenAI API.
Available OpenAI Models:
dall-e-2dall-e-3gpt-image-1
Important
To work with gpt-image-1 model, your organization must be verified. For me, it took a few minutes. More about this here.
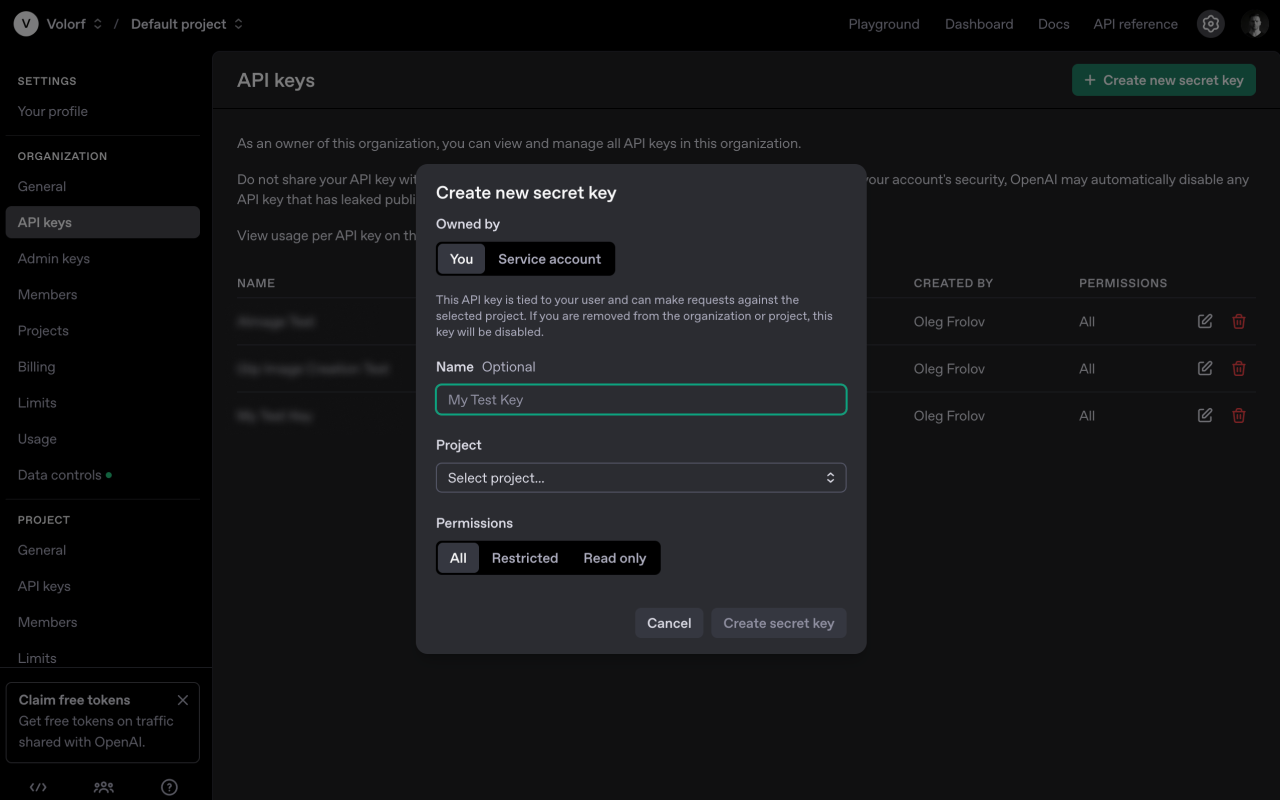
GenUIImage needs your API Key to get access to OpenAI generative models. To get the API key:
- Go to your OpenAI Account
- In
SettingsfindAPI Keys. - Click
Create new secret keyand set it up. Copy it.
More information you can find on OpenAI's official guide.
Important
If you plan to share your build with someone you do not know, you must consider a way to secure how you store your API keys. In runtime, you can call Generate(string apiKey) method on a GenUIImage instance to explicitly pass your securely obtained key. Otherwise, it will try to extract it from PlayerPrefs.
- In Unity, open
Tools > Gen UI Image > Settings. - Paste your key in the field.
- Save it.

- Select
CanvasandRight Mouse Clickto call the context menu. - Select
UI > Gen UI Image. - Enter your prompt and click
Generate.
Tip
If you try to send an empty prompt you will get a cute red panda eating an apple.
After an image is generated, you will see a Save as Asset button. Click and the image will be saved there Assets/Volorf/Gen UI Image/Generated Images.
By default API Key is stored locally on your computer with PlayerPrefs. To carry on this information to your builds you need to do following:
- Add a
ApiKeysProvidercomponent to yourGen UI Image. - Open the context menu and select
Create > Gen UI Image > Create ApiKeysProviderData. It will create a data asset. - Add your
API keyto the asset. - Drag and drop the asset to the
ApiKeysProvidercomponent.
Important
If you plan to give the build to someone you do not know, you must consider explicitly passing your securely obtained key to Generate(string apiKey) on your GenUIImage instance.
Just call the Generate() method in your GenUIImage instance.
You can also specify some of the parameters before the call.
Here is an example:
_genUiImage.model = Model.GptImage1;
_genUiImage.size = Size.Portrait;
_genUiImage.quality = Quality.High;
_genUiImage.prompt = "A cute red panda eating crunchy biscuits.";
_genUiImage.Generate();
Note
If you just to the Generate() method without specifying anything, it will use the serialized values that were set up in your editor.
For security reasons you might want to explicitly pass API Key as a parameter in the Generate() method. Example:
// The most secure way to store the keys is to use a server
var keyObtainer = new MySecureCloudApiKeyObtainer();
var key = keyObtainer.GetOpenAiKey();

_genUiImage.Generate(apiKey: key);If you want to get just Texture you could get it via your GenUIImage instance by using Texture property (you need to make sure that you called Generate() before!).
_genUiImage.Generate();
var myTexture = _genUiImage.Texture;You can create an instance of GenRequestManager class and call GenerateTexture2D method. In this case, you might need to pass your API Key as a parameter.
public async Task<Texture2D> GenerateTexture2D(
    Provider provider,
    Model model,
    Quality quality,
    Size size,
    string prompt,
    string apiKey = "")
{
     // Handles your request
     // and returns a texture
}
Note
The method is async. Make sure that you handle it appropriately.
GenRequestManager _genRequestManager = new GenRequestManager();
Texture myTexture = await _genRequestManager.GenerateTexture2D(
    provider: Provider.OpenAI,
    model: Model.GptImage1,
    quality: Quality.High,
    size: Size.Portrait,
    prompt: "A red panda climbing a tree and eating bamboo.",
    apiKey: "SecretApiKeyFromYourAiProvider"
)X | Bsky | Linkedin | Personal Site